Secure IoT: SSH Remote Access & Firewall Setup Guide
In an era dominated by interconnected devices, are your Internet of Things (IoT) gadgets truly secure? Securing your IoT devices with Secure Shell (SSH) and a robust firewall is not just a recommendation; it's a necessity in today's digital landscape.
This article dives into the critical realm of securing IoT devices, with a particular focus on the implementation of Secure Shell (SSH) and the pivotal role of firewalls. We'll explore the practical aspects of establishing remote SSH connections, delve into essential firewall configurations, and highlight the key benefits of this layered security approach. Our aim is to equip you with the knowledge and tools necessary to protect your IoT infrastructure from unauthorized access and potential cyber threats, ensuring data integrity and maintaining device confidentiality.
Before we proceed let's talk about the advantages.
- Alice Rosenblum News Latest Leaks Onlyfans More
- Unveiling Kristi Noem From Bedhead To Bikini Buzz Latest Updates
Besides preventing and resolving breaches before they can inflict harm, remote access to iot devices builds on the capabilities that come with wireless interconnectivity.
Remoteiot device ssh not only ensures secure communication but also simplifies the process of managing iot devices from afar.
| Feature | Benefit |
|---|---|
| Secure Communication | SSH encrypts all data transmitted between your device and the remote access point, protecting it from interception and eavesdropping. |
| Remote Management | SSH allows you to access and control your IoT devices from anywhere with an internet connection, simplifying maintenance and troubleshooting. |
| Data Integrity | SSH ensures the confidentiality and integrity of data exchanged between your device and the remote server. |
| Firewall Integration | Combined with a firewall, SSH creates a robust security layer, shielding your devices from unauthorized access and potential cyber threats. |
| Simplified Management | Remote access simplifies device management, especially when multiple devices are deployed across different locations. |
One of the most effective methods to ensure secure communication with your IoT devices is through SSH (Secure Shell) remote access. This tutorial will guide you through the process of setting up and managing remote SSH connections while implementing robust firewall protection.
- Supernanny Jo Frost Career Family Life Darrin Jackson Details
- Darla Eliza Playboy Content Exclusive Photos Videos Await
Now that you understand the importance of SSH, let's explore the steps involved in setting it up on your IoT device. The process, while generally consistent, may vary slightly depending on the specific device you are using. However, the foundational steps remain the same.
Enable SSH on Your Device: Most IoT devices come with SSH disabled by default. This is a security measure designed to prevent unauthorized access right from the outset. To enable SSH, you'll typically need to access your device's configuration settings. This often involves connecting a monitor, keyboard, and mouse to the device, or accessing its web interface through a local network connection. Once you have access to the device's operating system or configuration panel, look for an SSH option and enable it. The specific location of this setting varies depending on the device's operating system. For example, on a Raspberry Pi, you can enable SSH using the raspi-config tool, or through the Raspberry Pi Imager tool during initial setup. On other devices, the setting might be found in a network or security configuration section.
After enabling SSH, youll typically need to configure a username and password or set up SSH keys for secure authentication. This will allow you to connect to your device remotely. The default username and password (if any) will vary depending on your device. It is very important to change the default password for security reasons. Then you can set up SSH keys for a more secure authentication process.
Essential Steps for Setting Up SSH:
- Enable SSH Service: Ensure SSH is enabled in the device's settings. This usually involves navigating to the device's configuration panel and toggling SSH on.
- Configure Network Settings: Configure your device's network settings, including a static IP address. This ensures the device's IP address remains constant, making it easier to connect remotely. If you cannot set up a static IP address on your device, reserve a DHCP IP address in your router's settings.
- Configure Firewall: Configure your firewall to allow SSH traffic. This usually involves opening port 22 (the standard SSH port) for incoming connections. Consider restricting access to specific IP addresses for added security.
- Test the Connection: Test the SSH connection from your local machine using an SSH client like PuTTY (Windows) or the Terminal (macOS and Linux). Use the device's IP address and the configured username and password to log in. If the connection is successful, you can now manage your device remotely.
Understanding Common Challenges: As with any technology, SSH remote IoT setups come with their own set of challenges. Knowing these potential pitfalls can help you troubleshoot and maintain a secure connection:
- Connection Failures: Sometimes, your SSH client might fail to connect to the server. This could be due to network issues, incorrect IP addresses, or firewall settings. Double-check your network connection, verify the IP address, and ensure the firewall is configured correctly.
- Incorrect Credentials: Ensure you are using the correct username and password or SSH keys. Case sensitivity is crucial.
- Port Forwarding Issues: If you're accessing your device from outside your local network, make sure port forwarding is correctly set up on your router to direct SSH traffic to your device.
- Firewall Restrictions: Firewalls on both the device and the network level can block SSH connections. Verify that port 22 (or your custom SSH port) is open on both the device and the router's firewall.
- Network Connectivity: If your device doesn't have a stable internet connection, or is not connected to the network, SSH connections will fail. Ensure a reliable network connection.
This article will guide you through setting up Secure Shell (SSH) access to IoT devices using Amazon Web Services (AWS), with a focus on Raspberry Pi as an example device. This methodology provides a secure, scalable, and flexible way to manage your IoT devices from anywhere in the world. AWS offers a robust infrastructure that can handle the complexities of remote access, making it an excellent choice for both personal and enterprise IoT deployments.
Setting Up SSH Access with AWS:
- Launch an EC2 Instance (or Use an Existing One): An Elastic Compute Cloud (EC2) instance in AWS will act as a secure intermediary. This will be the gateway through which you will access your Raspberry Pi.
- Configure Security Groups: Set up security groups to control network traffic to your EC2 instance. These security groups function as virtual firewalls, allowing SSH traffic (port 22) from your IP address. This limits unauthorized access.
- Set Up SSH Keys: Create and securely store an SSH key pair. The private key is used to access the EC2 instance, and the public key needs to be configured in the instance's authorized_keys file.
- Connect to EC2 Instance: Use an SSH client to connect to your EC2 instance using the instance's public IP address and your private key.
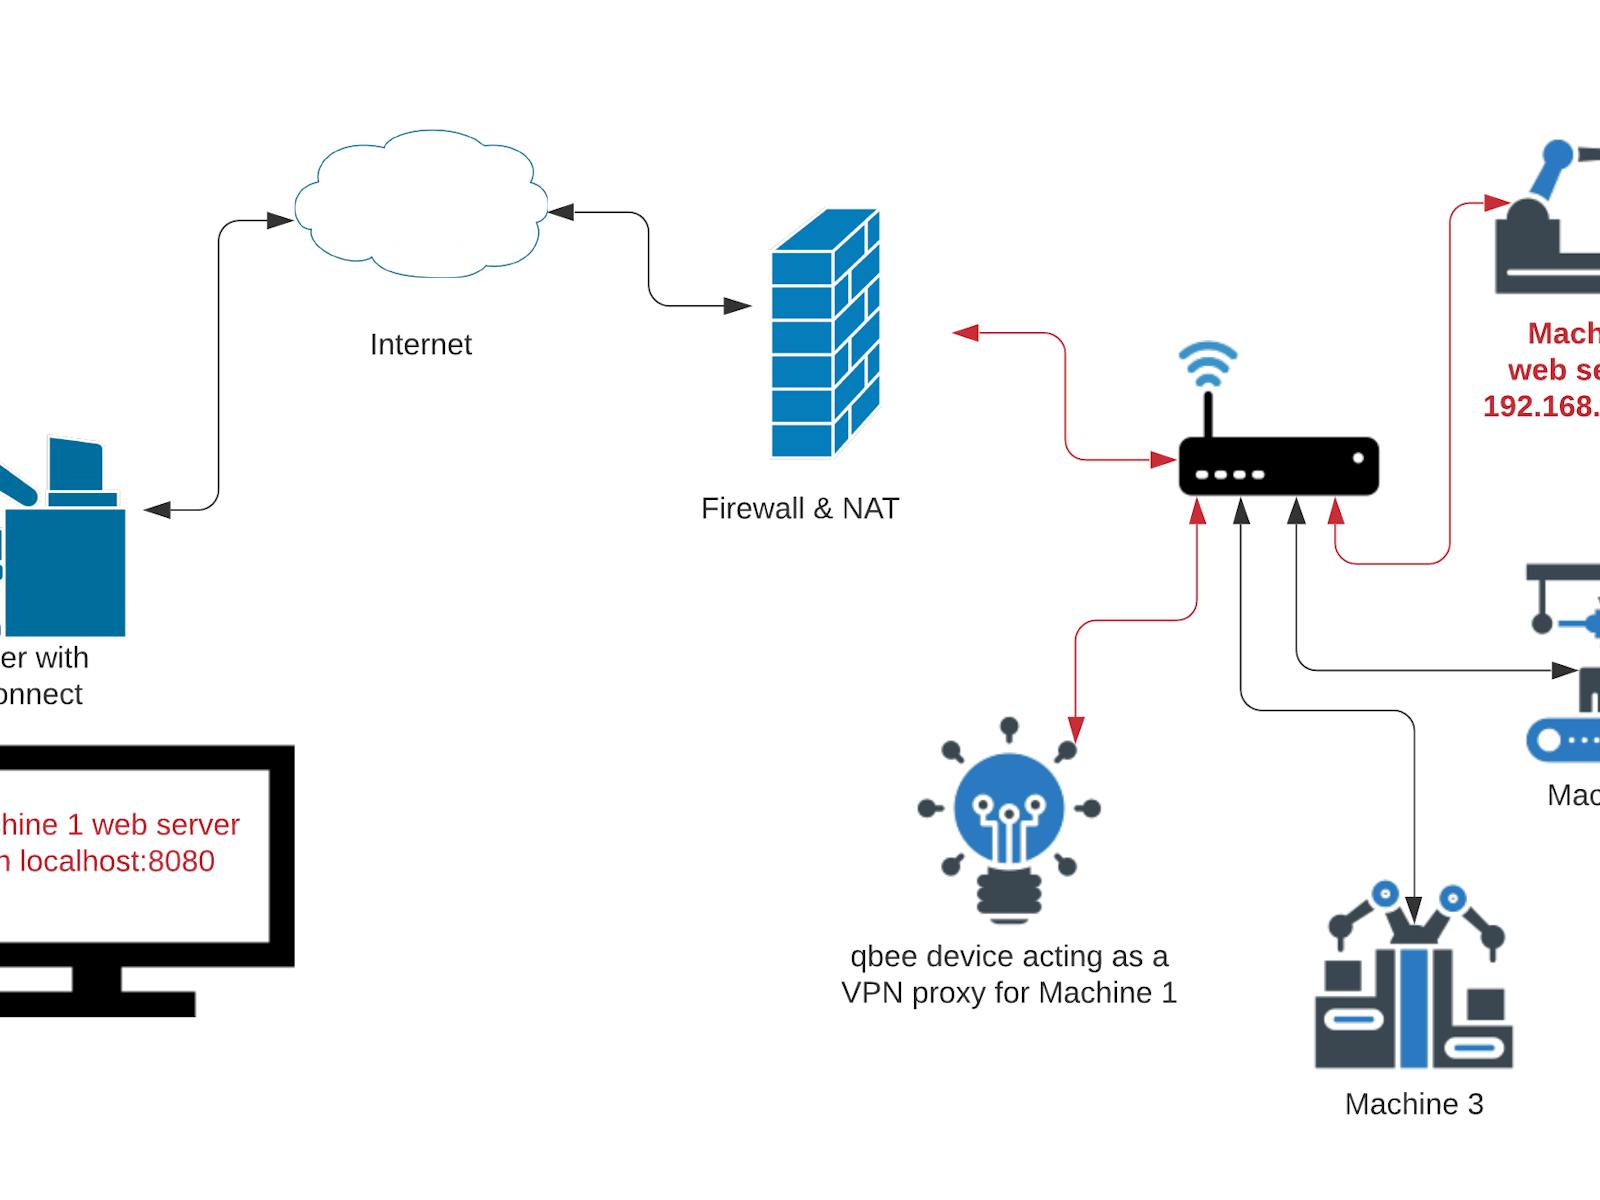
- Configure Port Forwarding (If Necessary): If your Raspberry Pi is behind a NAT (Network Address Translation), you'll need to set up port forwarding on your EC2 instance. Use the SSH command with the -L option to forward a local port to your Raspberry Pi's SSH port (port 22).
- Connect to Raspberry Pi: Once the port forwarding is set up, use your local machine to SSH into your Raspberry Pi using the local port you defined.
Leveraging SSH for Raspberry Pi: The Raspberry Pi, with its versatility and affordability, is a popular choice for IoT projects. SSH provides a critical means of managing these devices remotely.
Step-by-Step Guide for Raspberry Pi SSH Setup:
- Enable SSH: Connect a monitor, keyboard, and mouse to your Raspberry Pi. Open the Raspberry Pi Configuration Tool (raspi-config). Go to "Interface Options" and enable SSH. Alternatively, you can enable SSH by placing an empty file named "ssh" (without any extension) in the boot partition of the SD card.
- Find Your IP Address: Determine the IP address of your Raspberry Pi. You can do this by checking your router's connected devices or by running the `ifconfig` command in the Raspberry Pi terminal.
- Connect from Your Local Machine: Use an SSH client (like PuTTY for Windows or the Terminal for macOS/Linux) to connect to your Raspberry Pi using its IP address, username ("pi" by default), and password ("raspberry" by default, change this immediately).
- Update Your System: Once connected, update your Raspberry Pi's software packages using the command `sudo apt update && sudo apt upgrade`.
- Configure Firewall (Optional but Recommended): Use a firewall like `ufw` (Uncomplicated Firewall) to enhance security. Set up `ufw` to allow incoming SSH traffic only from specific IP addresses or networks.
Remote SSH login for IoT is not just about convenience; it's about securing your devices. As the internet of things (IoT) continues to grow, securing your devices through SSH remote access has become crucial for both individuals and businesses. With the increasing number of IoT devices in homes and businesses, understanding how to configure remote SSH can save you time and enhance security.
In addition to using SSH, implementing a firewall provides another layer of protection, shielding your devices from unauthorized access and potential cyber threats. This setup is vital to safeguard the data exchanged between your IoT devices and external networks.
The Role of a Firewall in Securing SSH:
- Traffic Filtering: A firewall monitors incoming and outgoing network traffic and blocks any suspicious or unauthorized connections, providing a crucial first line of defense against cyber threats.
- Access Control: Firewalls can restrict access to your IoT devices by IP address, network, or specific ports, limiting potential entry points for attackers.
- Intrusion Detection: Some firewalls have intrusion detection capabilities, alerting you to any suspicious activity or attempts to breach your system.
- Enhanced Security: Combining SSH with a firewall offers a layered approach to security, greatly reducing the risk of unauthorized access and data breaches.
Configuring a Firewall: Setting up a firewall on your IoT device involves defining rules that specify which network traffic is allowed and which is blocked. Common firewall tools include `ufw` (Uncomplicated Firewall) on Linux systems like Raspberry Pi, and built-in firewalls on other operating systems.
Firewall Setup Steps:
- Install a Firewall: If your device doesn't have a firewall installed, you will need to install one. For example, on Debian-based systems, install UFW using: `sudo apt-get install ufw`.
- Enable the Firewall: Activate the firewall to start filtering network traffic. With UFW, you would use: `sudo ufw enable`.
- Allow SSH Traffic: Configure the firewall to allow SSH traffic. For UFW: `sudo ufw allow ssh` or `sudo ufw allow 22`.
- Restrict Access (Recommended): If possible, restrict SSH access to specific IP addresses. For example: `sudo ufw allow from [your_ip_address] to any port 22`.
- Check Firewall Status: Verify the firewall rules and status. With UFW: `sudo ufw status`.
For more specific details, here's a table that shows the AWS IoT console that allows you to create tunnels from the tunnel hub page or the detailed page of the IoT device you created.
| Action | Steps |
|---|---|
| Access the AWS IoT Console: | Log in to your AWS Management Console and navigate to the AWS IoT service. |
| Navigate to Tunnel Hub or Device Details: | You can create tunnels from either the Tunnel Hub page or from the details page of a specific IoT device you've already set up. |
| Choose Tunnel Creation Method: | When creating a tunnel from the Tunnel Hub, you will be prompted to choose between a quick setup and a manual setup. |
| Quick Setup: | The quick setup provides a streamlined approach with pre-configured settings to simplify the process. |
| Manual Setup: | The manual setup offers more control over the tunnel's configuration, allowing for customization to meet specific requirements. |
| Configure Tunnel Settings: | Set up various tunnel properties such as device names, access controls, and any other necessary configurations. |
| Implement Security Measures: | Ensure to configure appropriate security measures, including access controls, encryption settings, and monitoring for secure tunnel operation. |
Additional Security Tips: Beyond SSH and firewalls, there are further steps you can take to enhance the security of your IoT devices:
- Regular Updates: Keep your device's operating system and software up to date. Patches often address security vulnerabilities.
- Strong Passwords: Use strong, unique passwords for all your IoT devices and change them regularly.
- Two-Factor Authentication (2FA): If supported by your devices, enable 2FA for an extra layer of security.
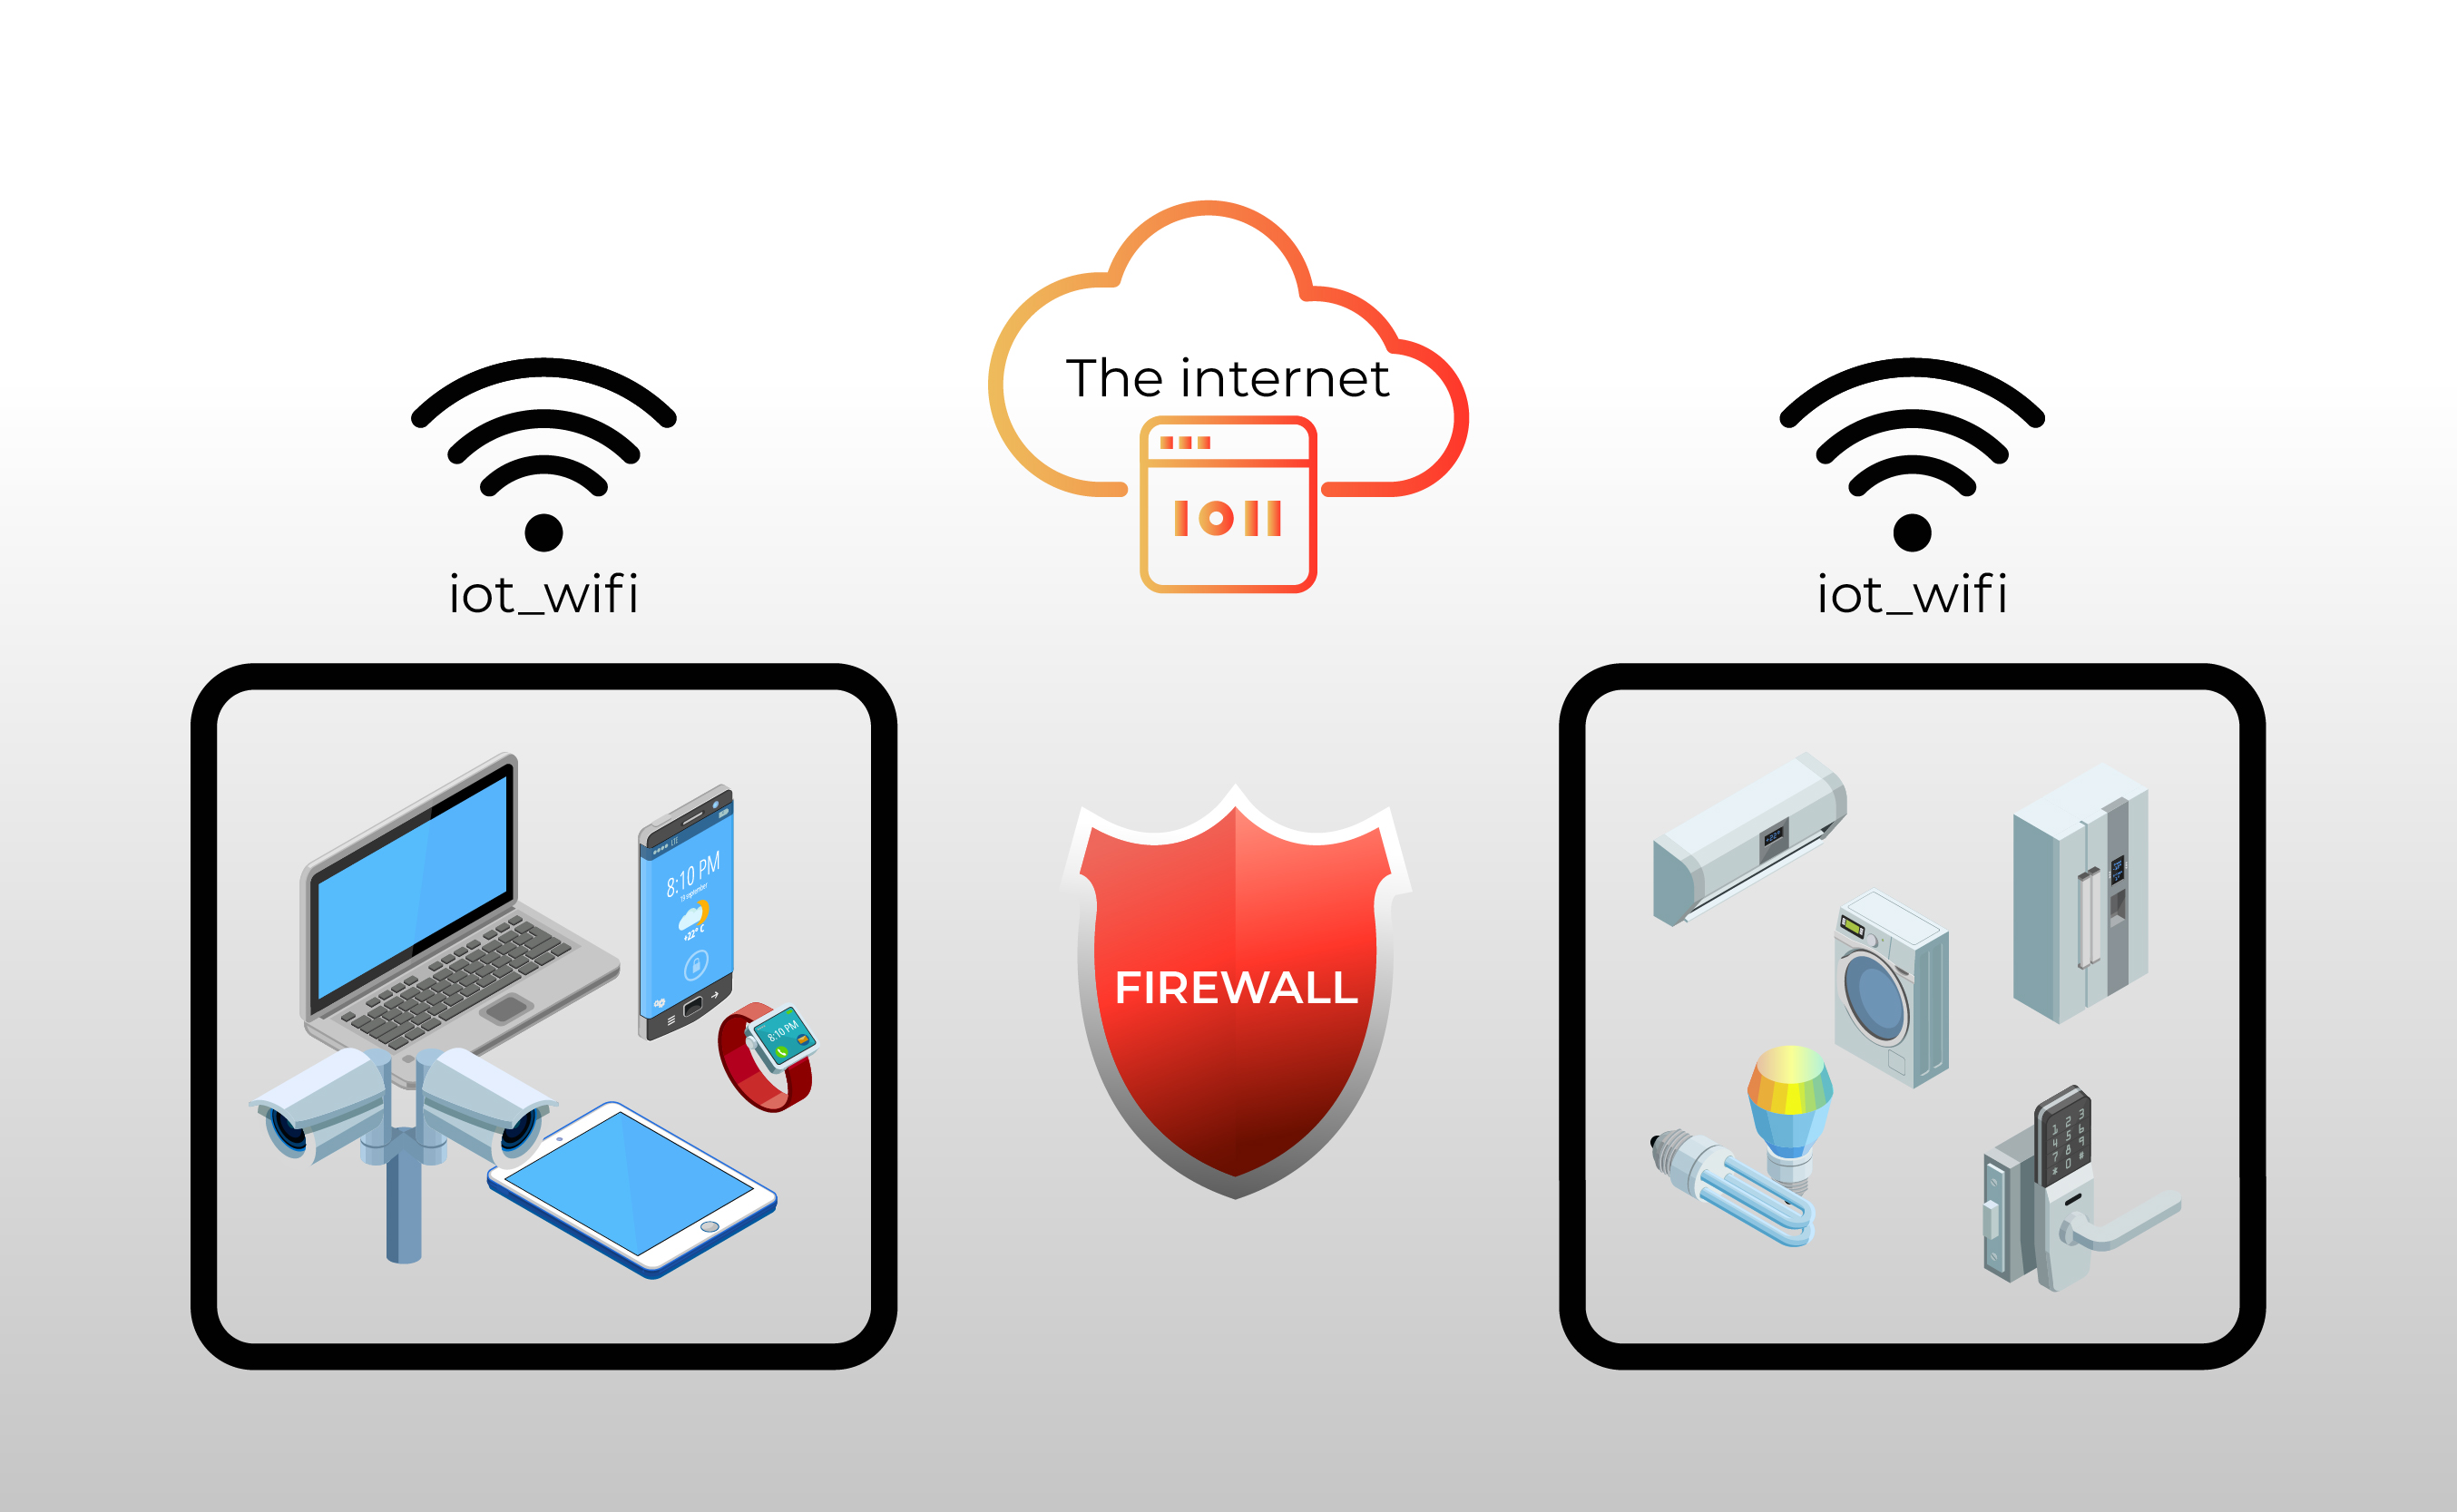
- Network Segmentation: If possible, place your IoT devices on a separate network segment or VLAN to isolate them from your other devices.
- Monitor Network Traffic: Regularly monitor network traffic for any suspicious activity.
Remoteiot Platform: Remote management IoT platforms allow users to remotely control IoT devices using a web browser. Users can set up a VNC server on a Raspberry Pi and use a VNC client application on a device of choice to view and interact with the pi's desktop from anywhere with an internet connection.
In conclusion, securing your IoT devices is not merely a technical task, it is a fundamental aspect of protecting your digital ecosystem. By implementing SSH with a robust firewall and following the best security practices, you can create a secure and efficient remote access setup. This proactive approach not only prevents unauthorized access but also guarantees data integrity and device confidentiality, building on the benefits of wireless interconnectivity. Embrace the power of secure remote access to take control of your IoT devices and create a safer, more reliable future.

Detail Author:
- Name : Sincere Mann
- Username : oconner.chaya
- Email : schroeder.jasper@rath.com
- Birthdate : 1986-11-25
- Address : 7488 Jaylin Valley Apt. 439 Windlerhaven, MS 15081
- Phone : +13528056476
- Company : Howell-Oberbrunner
- Job : Poet OR Lyricist
- Bio : Impedit molestiae aut saepe hic. Natus inventore aut quia dolore cumque qui dicta molestias.
Socials
twitter:
- url : https://twitter.com/filiberto.maggio
- username : filiberto.maggio
- bio : Placeat doloremque ad quasi et quia. Sed fugit quae maxime dolor. Maxime et soluta omnis modi tempore error aut nobis. Earum natus facere et non quas.
- followers : 5476
- following : 1106
linkedin:
- url : https://linkedin.com/in/maggio1978
- username : maggio1978
- bio : Et illum ipsum in laudantium esse eius aut.
- followers : 3394
- following : 999
tiktok:
- url : https://tiktok.com/@filiberto1096
- username : filiberto1096
- bio : Fugit ducimus autem recusandae aut et aperiam dolores.
- followers : 3745
- following : 235
instagram:
- url : https://instagram.com/filiberto_xx
- username : filiberto_xx
- bio : Vitae ut sit quae ut eaque. Doloremque tempora eligendi voluptates non eos.
- followers : 4464
- following : 2832

 gadgets truly secure? Securing your IoT devices with Secure Shell (SSH) and a r)